

I really am a 5 year old at heart. Why? Well...lots of reasons...but tonight the reason is...the graham cracker! I love graham crackers, I always have, and I always will. Throughout my life they have always been there for a crunchy, slightly sweet and always tasty treat. The graham cracker is my go to snack if I want something touched with honey but not overly sweet, it is my go to nibble if I my stomach is upset, it is a versatile vessel for which to put on peanut butter or chocolate chips for an impromptu s'more, and it can be used in countless recipes.
My mom always told me that graham crackers were the first health food. I kind of thought she just made that up, but I looked it up and it turns out, she was right! Created by Presbyterian Minister Sylvester Graham in 1829, these little treats were first sold under the name "Dr. Graham's Honey Biscuits," and were an integral part of the "Graham Diet." Well, this recipe calls for 7 tablespoons of butter, so I am not sure if we can consider this version a health food...but we can certainly call them a tasty treat!
Considering this life long love affair, I cannot believe I never tried to make graham crackers at home! I found this recipe on one of my favorite food blogs: Smitten Kitchen, and they sourced this recipe from Nancy Silverton's Pastries from the La Brea Bakery. It was a delight to make these tasty crackers, but they were also very messy, and mine did not turn out picture perfect, but they were still yummy! So roll your sleeves up and enjoy a classic treat!

Printer Friendly Version
Ingredients:
2 1/2 cups plus 2 tablespoons of flour
1 cup of dark brown sugar, lightly packed
1 teaspoon of baking soda
3/4 teaspoon of salt
7 tablespoons of butter, cut into 1 inch cubes and chilled in the freezer
1/3 cup of honey (I used Texas honey!)
5 tablespoons of milk (I used skim...I think it would have been better with whole...but I did not want to buy so much milk for just 5 tablespoons)
2 tablespoons of vanilla
Steps:
1. Gather all of your ingredients.

2. In an electric mixer with the paddle attachment, combine together the flour, brown sugar, baking soda and salt.


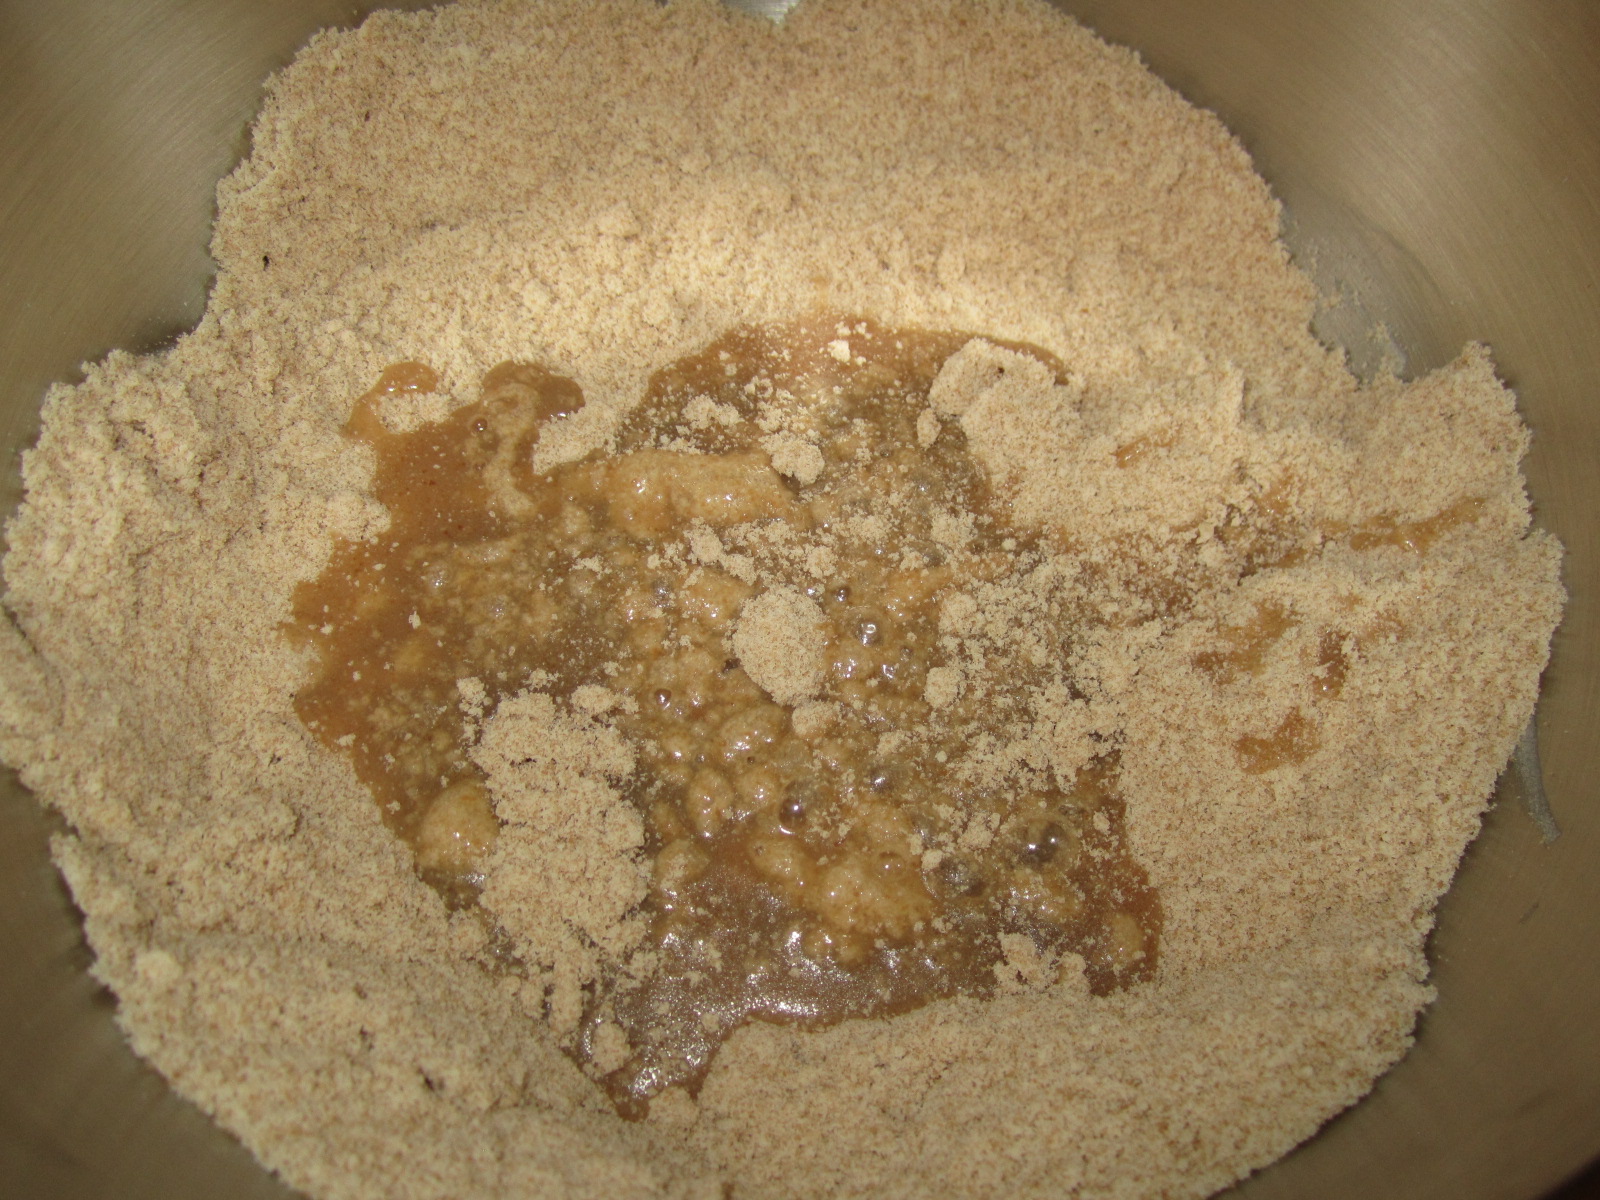
3. Add the frozen butter to the dry ingredients and mix until you achieve a granular texture.


5. Add the honey mixture to the flour mixture and mix together until just combined. The dough will be very sticky and a bit hard to handle.

6. Place the dough on a large area covered with plastic wrap.

7. With your fingers, press the dough out into a large rectangle, about 1 inch in thickness.

8. Wrap entirely with plastic wrap, and place in the fridge for at least two hours to allow the dough to harden.

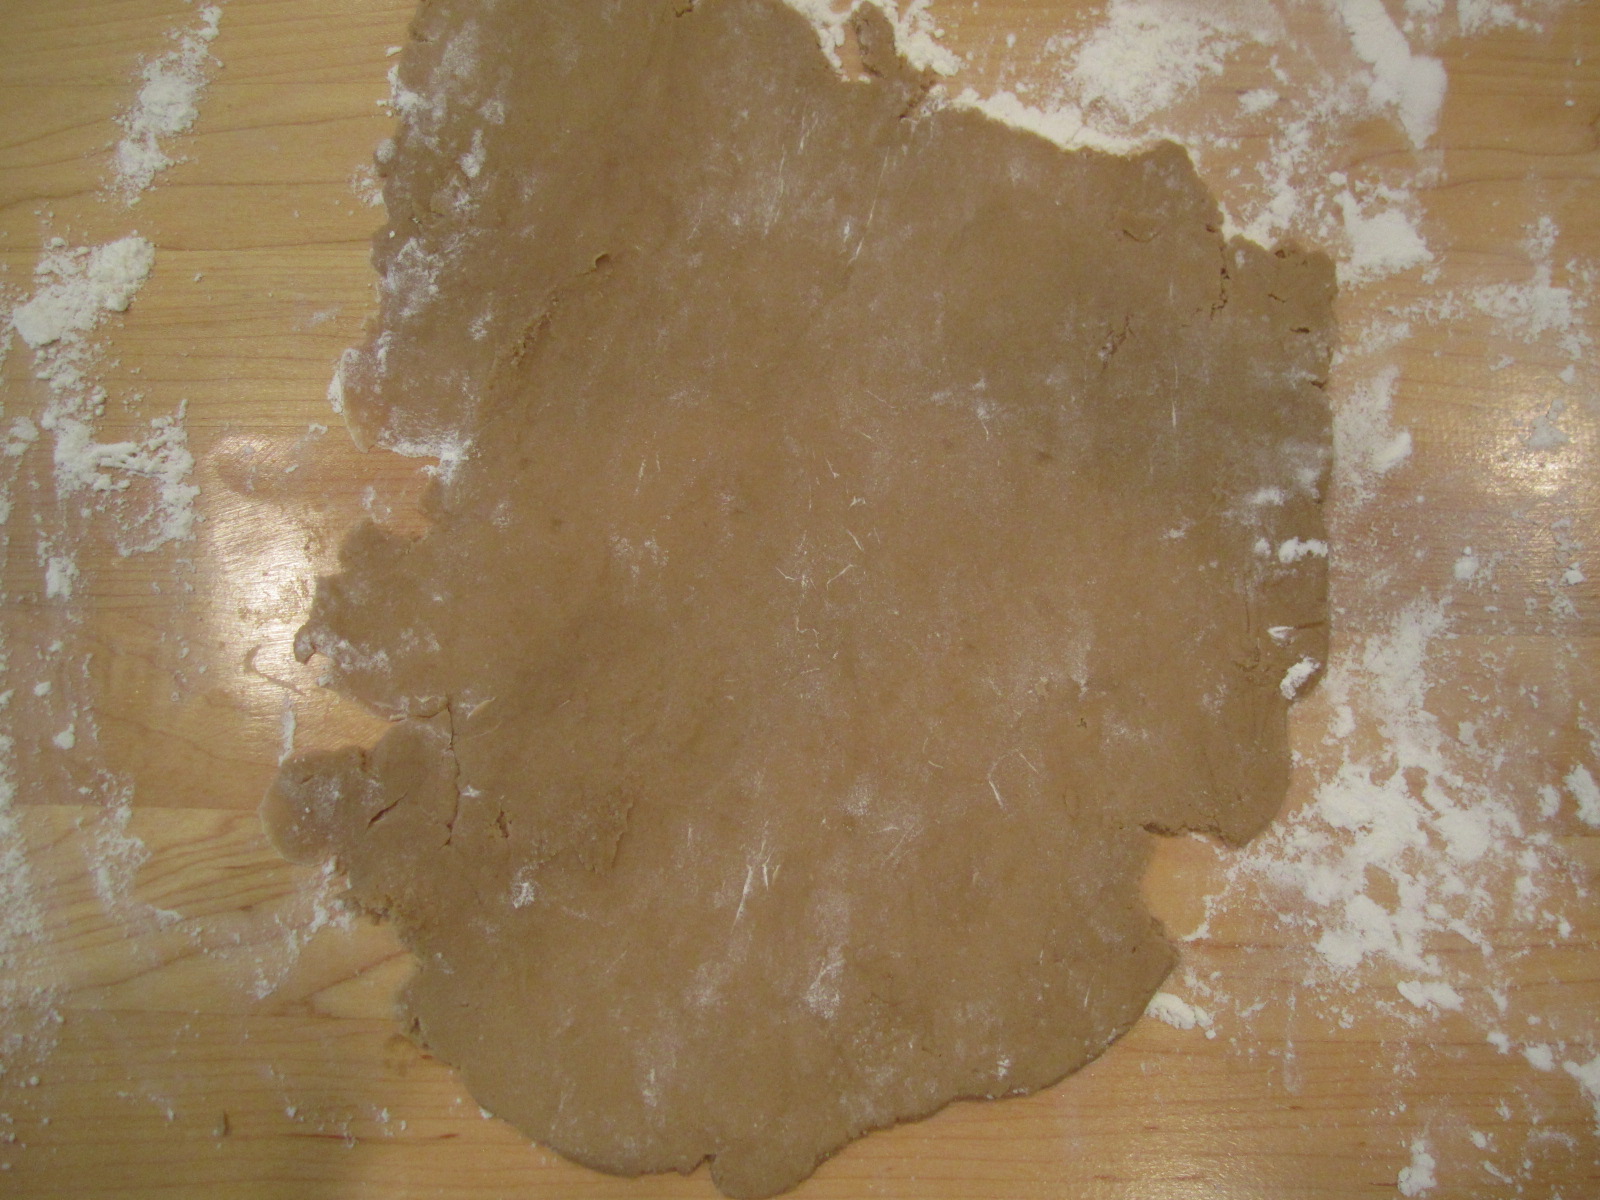
9. Remove from the fridge and place onto a nicely floured surface. Separate the dough into two large pieces. Place the half of the dough you are not working with back in the fridge.

10. Roll out the dough to a 1/8 of an inch in thickness. The dough is very sticky so be sure to flour the rolling pin.
11. Cut the dough into smaller rectangles with a pizza cutter or pastry cutter.

12. Transfer each piece to a prepared baking sheet.

13. Add little dimples to the surface, I used a two pronged fork.

14. Place in the fridge for about 30 minutes. While this batch is cooling, roll out the reserved dough for the second batch.
15. Bake in a 350 degree oven for 25 minutes.
16. Enjoy with a tall glass of cold milk!


No comments:
Post a Comment