Showing posts with label Snacks. Show all posts

Tuesday, August 30, 2011

Graham Crakers


I really am a 5 year old at heart. Why? Well...lots of reasons...but tonight the reason is...the graham cracker! I love graham crackers, I always have, and I always will. Throughout my life they have always been there for a crunchy, slightly sweet and always tasty treat. The graham cracker is my go to snack if I want something touched with honey but not overly sweet, it is my go to nibble if I my stomach is upset, it is a versatile vessel for which to put on peanut butter or chocolate chips for an impromptu s'more, and it can be used in countless recipes.

My mom always told me that graham crackers were the first health food. I kind of thought she just made that up, but I looked it up and it turns out, she was right! Created by Presbyterian Minister Sylvester Graham in 1829, these little treats were first sold under the name "Dr. Graham's Honey Biscuits," and were an integral part of the "Graham Diet." Well, this recipe calls for 7 tablespoons of butter, so I am not sure if we can consider this version a health food...but we can certainly call them a tasty treat!

Considering this life long love affair, I cannot believe I never tried to make graham crackers at home! I found this recipe on one of my favorite food blogs: Smitten Kitchen, and they sourced this recipe from Nancy Silverton's Pastries from the La Brea Bakery. It was a delight to make these tasty crackers, but they were also very messy, and mine did not turn out picture perfect, but they were still yummy! So roll your sleeves up and enjoy a classic treat!


Printer Friendly Version

Ingredients:
2 1/2 cups plus 2 tablespoons of flour
1 cup of dark brown sugar, lightly packed
1 teaspoon of baking soda
3/4 teaspoon of salt
7 tablespoons of butter, cut into 1 inch cubes and chilled in the freezer
1/3 cup of honey (I used Texas honey!)
5 tablespoons of milk (I used skim...I think it would have been better with whole...but I did not want to buy so much milk for just 5 tablespoons)
2 tablespoons of vanilla

Steps:
1. Gather all of your ingredients.

2. In an electric mixer with the paddle attachment, combine together the flour, brown sugar, baking soda and salt.

3. Add the frozen butter to the dry ingredients and mix until you achieve a granular texture.

4. In a small bowl, combine the honey, milk and vanilla. Whisk together so that the honey is evenly distributed.

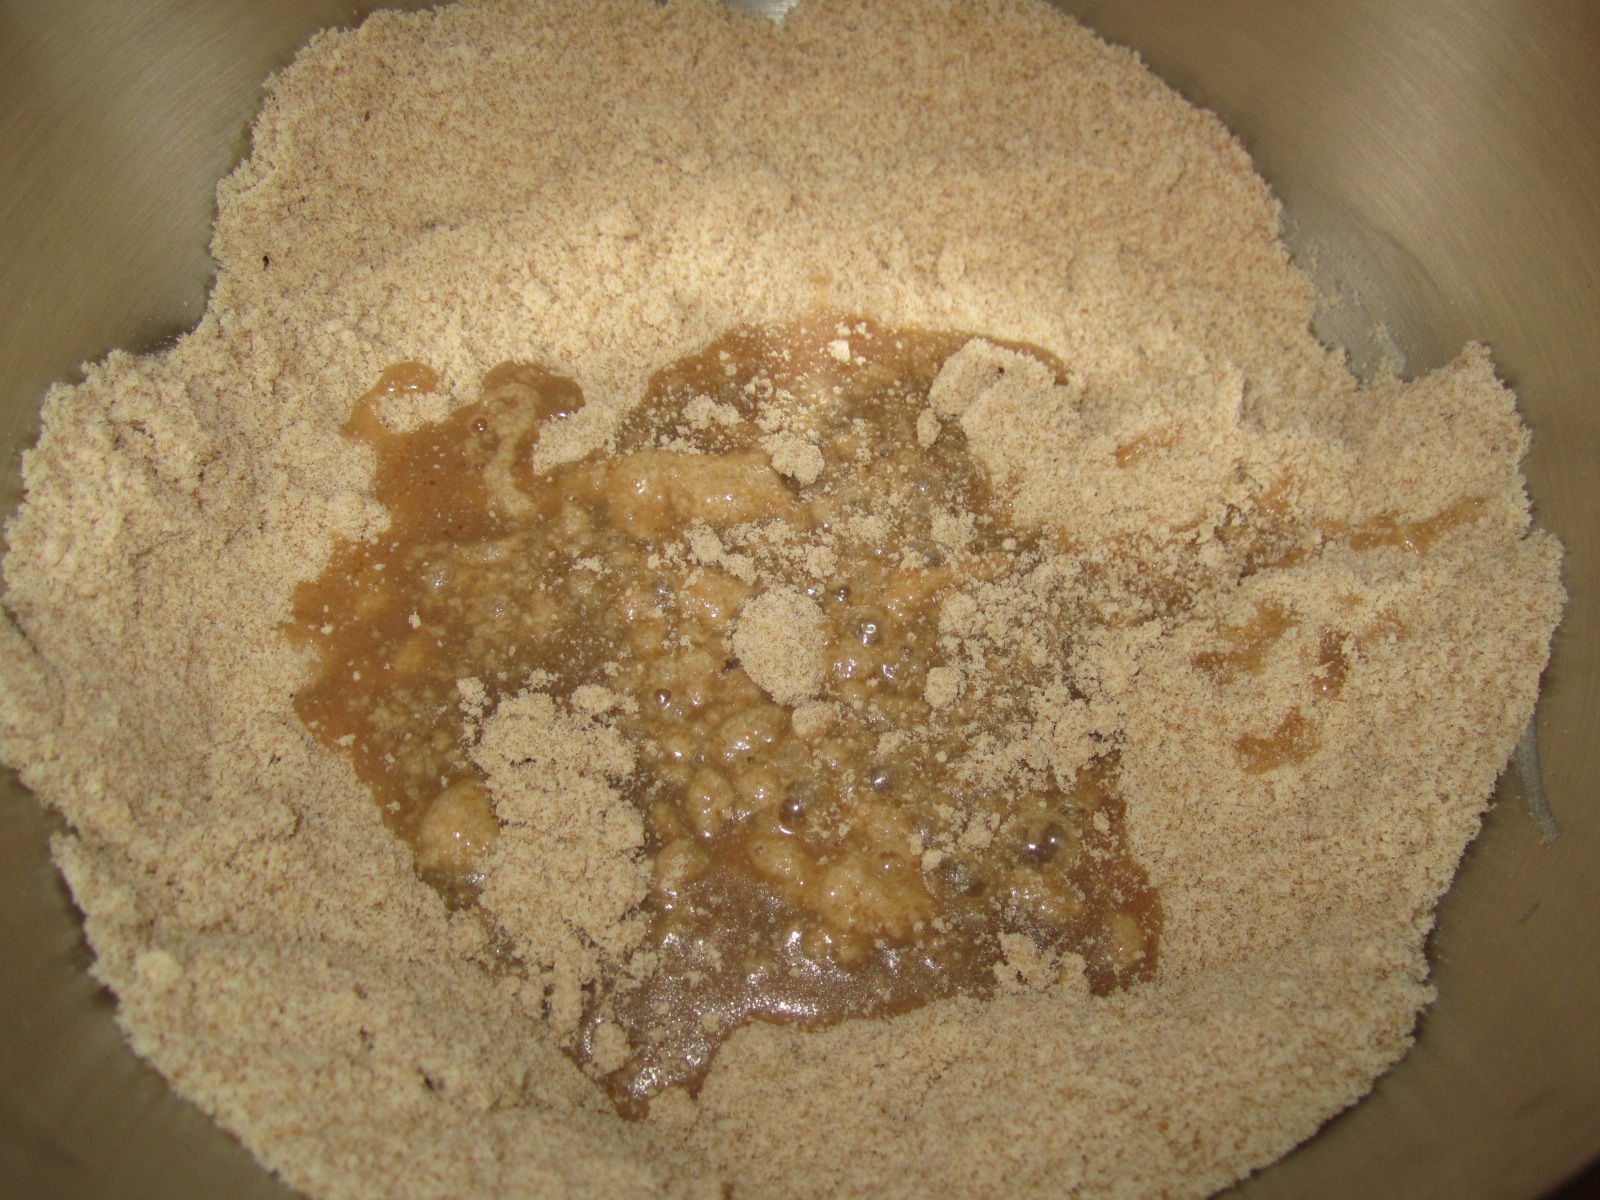
5. Add the honey mixture to the flour mixture and mix together until just combined. The dough will be very sticky and a bit hard to handle.

6. Place the dough on a large area covered with plastic wrap.

7. With your fingers, press the dough out into a large rectangle, about 1 inch in thickness.

8. Wrap entirely with plastic wrap, and place in the fridge for at least two hours to allow the dough to harden.

9. Remove from the fridge and place onto a nicely floured surface. Separate the dough into two large pieces. Place the half of the dough you are not working with back in the fridge.

10. Roll out the dough to a 1/8 of an inch in thickness. The dough is very sticky so be sure to flour the rolling pin.
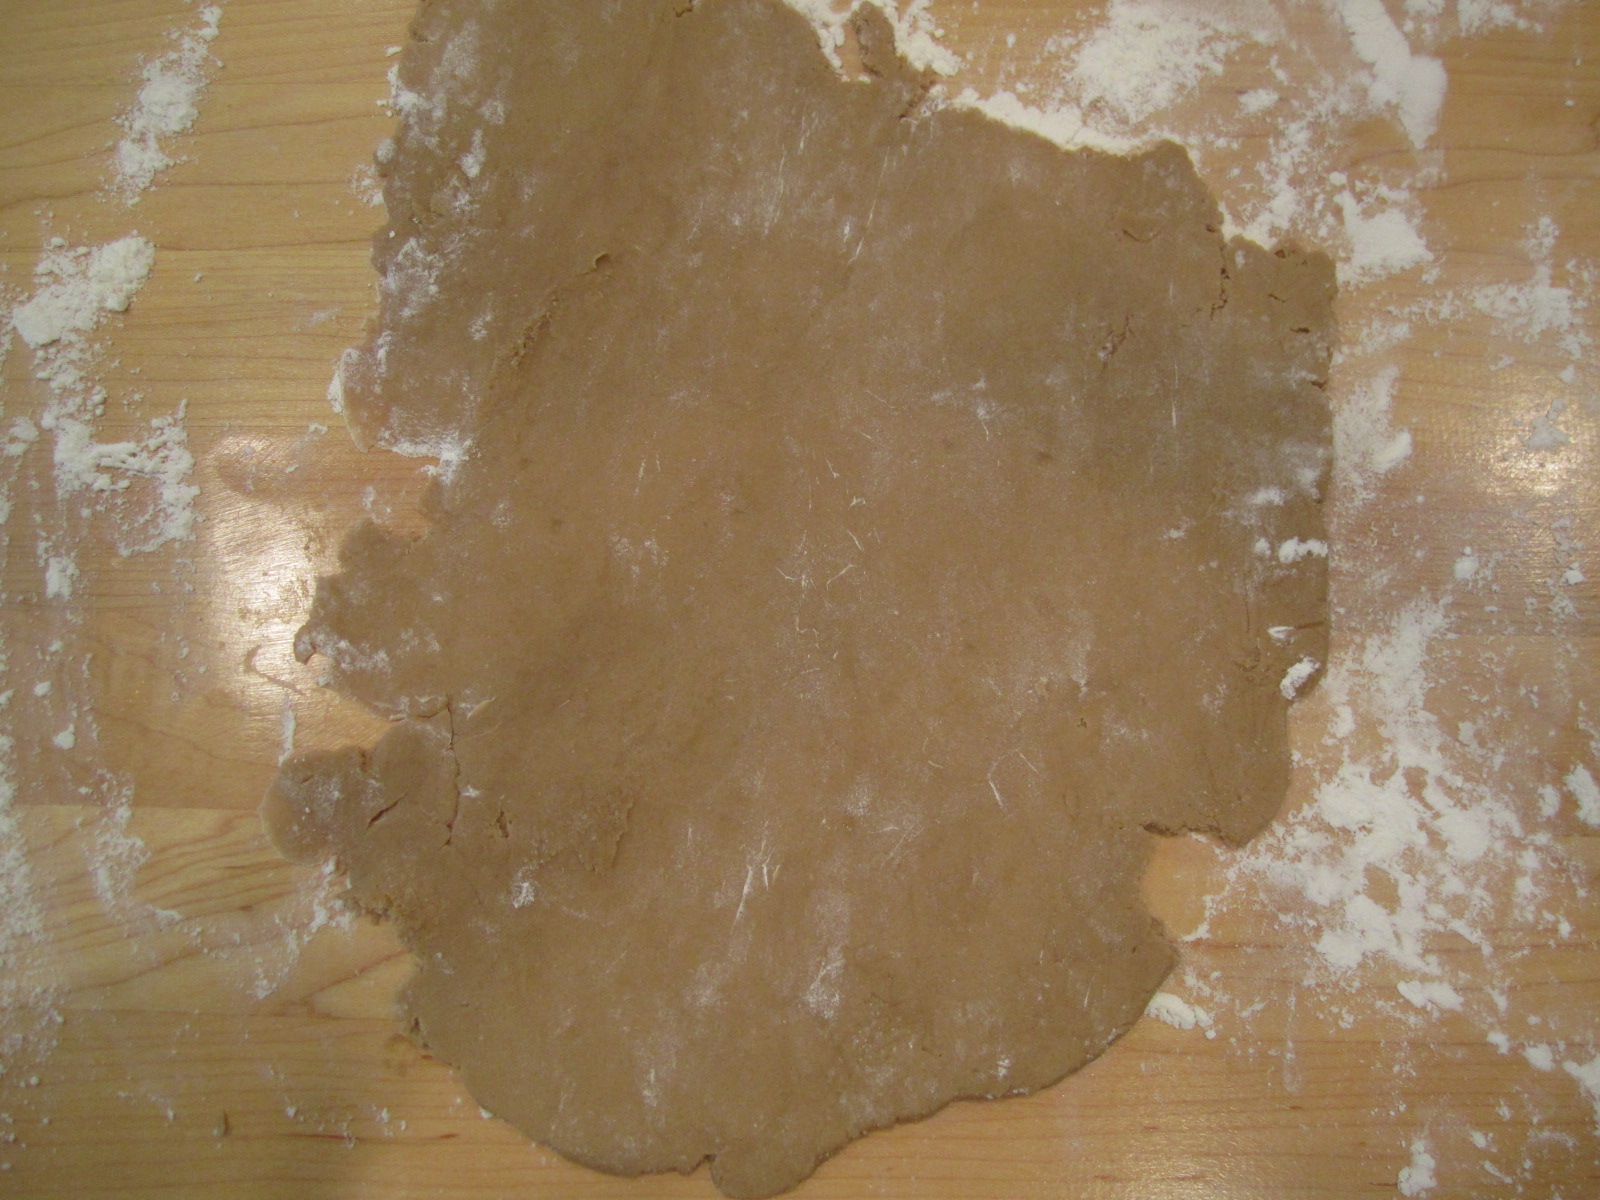
11. Cut the dough into smaller rectangles with a pizza cutter or pastry cutter.

12. Transfer each piece to a prepared baking sheet.

13. Add little dimples to the surface, I used a two pronged fork.

14. Place in the fridge for about 30 minutes. While this batch is cooling, roll out the reserved dough for the second batch.
15. Bake in a 350 degree oven for 25 minutes.
16. Enjoy with a tall glass of cold milk!


Sunday, June 26, 2011

Baked Kale Chips

Long before we started this blog, several of the food blogs I read posted recipes for baked kale chips. Initially these recipes didn't interest me much, that is until I joined the Urban Acres produce co-op and received a bunch of kale every two weeks in my produce share. For the past two months, I have received kale in my share and, unfortunately, let it spoil before I was able to use it in a meal.

This time I decided to employ the kale chips recipe early so as to not loose the freshness of the vegetable. I actually tend to love my leafy greens, but even I can get tired of the usual preparations. So I decided to give the baked kale chips a try. The result was a light, slightly spicy, and crispy snack that I think would easily curb a craving for salty chips. If you have kids that are reluctant to eat their green vegetables, I think this would be a great recipe to try.

Printer Friendly Version
Baked Kale Chips

Ingredients
1 bunch curly kale
1 tablespoon olive oil
1 teaspoon chili powder
Salt to taste

Instructions
Preheat oven to 300 degrees. Rinse kale, remove stems and ribs and cut into bite size pieces. Place in a large bowl.
Add the olive oil, salt and chili powder and toss to coat.
Place in a single layer on a cookie sheet and bake for 20 minutes.
Remove the kale from the oven and let cool. Serve as a snack and enjoy.

Wednesday, April 13, 2011

Honey Wheat Crackers

My husband, Robert, and I decided this spring to start making some changes in our eating habits in an effort to lead a healthier lifestyle. One of the changes we made was to replace snacks of chips and salsa or potato chips with Wheat Thins, Triscuits, fruit and cheese. While we love the Wheat Thin crackers produced by Nabisco, they aren't sold at Central Market where I do all my grocery shopping. That meant that I had to make a separate trip every week just for crackers.

When I came upon this recipe, touted as homemade wheat thins, I knew I had to try it. I am so glad that I did! The flavors of the honey and the vanilla are fantastic and give the cracker an addictive quality. The aroma from the baking was so great, that Robert didn't wait for the crackers to cool before he tried his first bite. In fact, we ate so many crackers as they were cooling down that I had to make a second batch just to last us through the week.

One thing of note, if you have access to Mexican vanilla as opposed to regular vanilla extract use it in this recipe! I am a big proponent of Mexican vanilla in all my baking, and it's addition to these crackers makes a big impact.

Printer Friendly Version
Honey Wheat Crackers
Ingredients
1 1/4 cup whole wheat flour
1 1/2 tablespoons honey
1/2 teaspoon salt, plus extra for topping if desired
1/4 teaspoon paprika
4 tablespoons unsalted butter, softened
1/4 cup water
1/4 teaspoon vanilla (Mexican vanilla preferred)

Instructions
Preheat oven to 400 degrees and line two baking sheets with silicone mats or parchment paper.
In a large bowl, combine the flour, salt and paprika and whisk to combine.
Cut the butter into small pieces.
Add to the flour mixture.
Using your whisk, or pastry cutter if you have one, work to incorporate the butter into the dry ingredients using almost a mashing motion.
Continue until the butter is mixed thoroughly.
In a separate bowl combine the water, vanilla and honey, stirring to combine.
Pour into the flour mixture.
Using a spatula, stir until it begins to form a ball.
Divide into four equal portions and cover with a towel to keep moist.
On a floured surface, roll out the first dough ball into a rectangle. You want the dough to be pretty thin so that it will crisp in the oven.
For uniform sized pieces, trim the edges of the dough with a pizza cutter to make a perfect rectangle.
Using the pizza cutter, cut the dough into a grid forming tiny squares of whatever size you desire.
Place the squares on the baking sheet, sprinkle with salt if desired. Repeat the process with the remaining four dough balls.
Bake in the oven one sheet at a time for five minutes. Check to ensure that no pieces are browning too quickly, then return to the oven for five more minutes checking half way through. If any pieces appear to brown before the others, remove those and continue cooking the rest.
When done place the crackers on a parchment lined wire rack to cool.
Store in an air tight container and enjoy with cheese or by themselves for a light, healthy snack.
Source: Adapted from The King Arthur Whole Grain Baking Cookbook via Two Peas and Their Pod